In this article, we have covered all the steps required to install WordPress on Bluehost. This guide will help all the new users who are struggling to complete the task. Though Bluehost has a very user-friendly interface, there can still be some people who have no clue what to do next with it.
Before you begin with the installation process it is necessary that you have signed up for Bluehost. Bluehost, if you are not a web hosting site which is referred to by WordPress itself. Below are the steps that you need to follow before installing WordPress.
First things first you need to select a web hosting plan before you move further in this process. There is a wide variety to choose from like shared, VPS, Dedicated, or WordPress hosting itself.
After this, you will need to create a domain name. Bluehost offers a free domain to all its hosting users for a span of a year.
Post the previous step you will need to fill in all the details of the Bluehost account so that the process can be taken further.
Before you proceed to pay for the plan it is advised to first check all these details. There can be many add-ons with your plan so you can deselect the ones that you don’t need before making the payment.
Once you have checked all these details it is time to make the payment for the hosting plan that you have selected. You do get a money-back guarantee from Bluehost for a period of 30 days.
After signing up for the Bluehost plan you can now proceed to the process of installation of WordPress in Bluehost.
Following are the steps that you need to perform for installing WordPress on Bluehost:
- To begin the process you first need to login into your Bluehost account. Then you must go to my sites tab and then click on create site option.
- Then you will need to fill in the details of your website. This will consist of your site’s name and tagline. There is no hassle in it even if you mess up because it can easily be changed later.
- Now you must select the drop-down options for selecting the domain name. In this, you will need to choose the domain name which you picked when you made your account.
- Once you are done with all these steps you can now click on the next option in Bluehost. This step will install your WordPress site in Bluehost. And now your website is visible on Bluehost’s details.
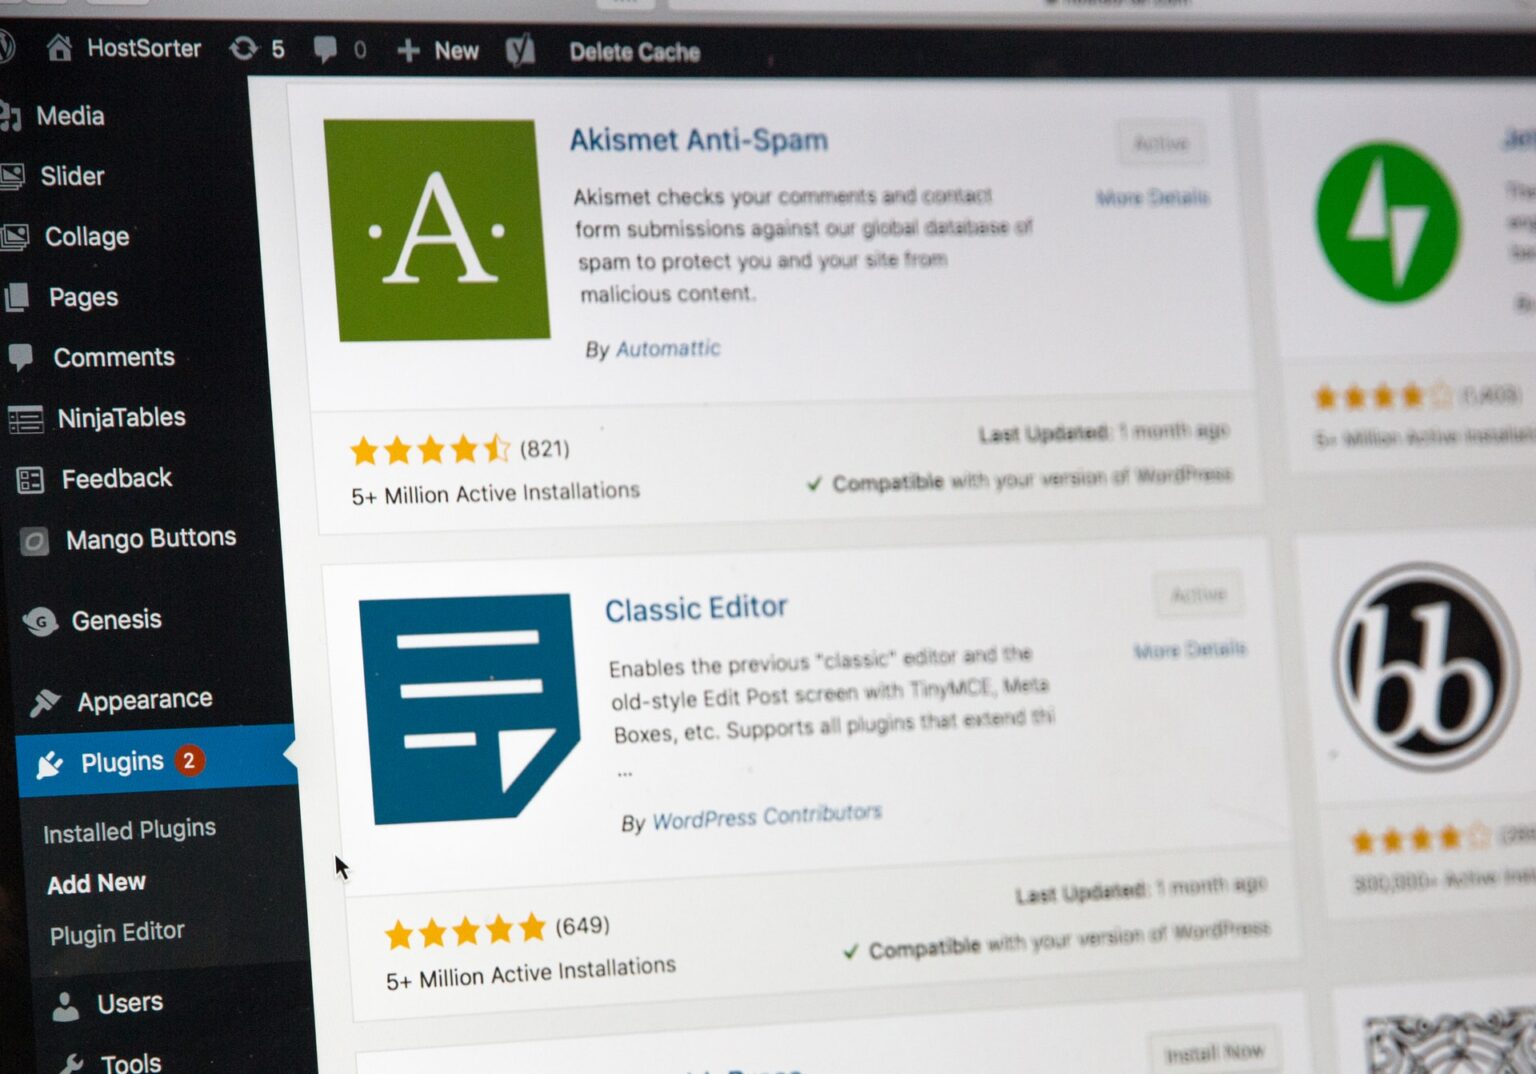
After you have installed Bluehost you can also set up the website now with a lot of its features. You can use the quick lizard wizard for starting your website. Post that you can select the theme for your WordPress site. Select the right plug-in for your site and install them. Then you can create some posts for your website and pages.
Final words
After all these steps you might agree that installing WordPress on Bluehost was quite simple. They have many other factors which are amazing like the cost and other features but its user-friendly interface stays at the top. They have a simple dashboard too.

