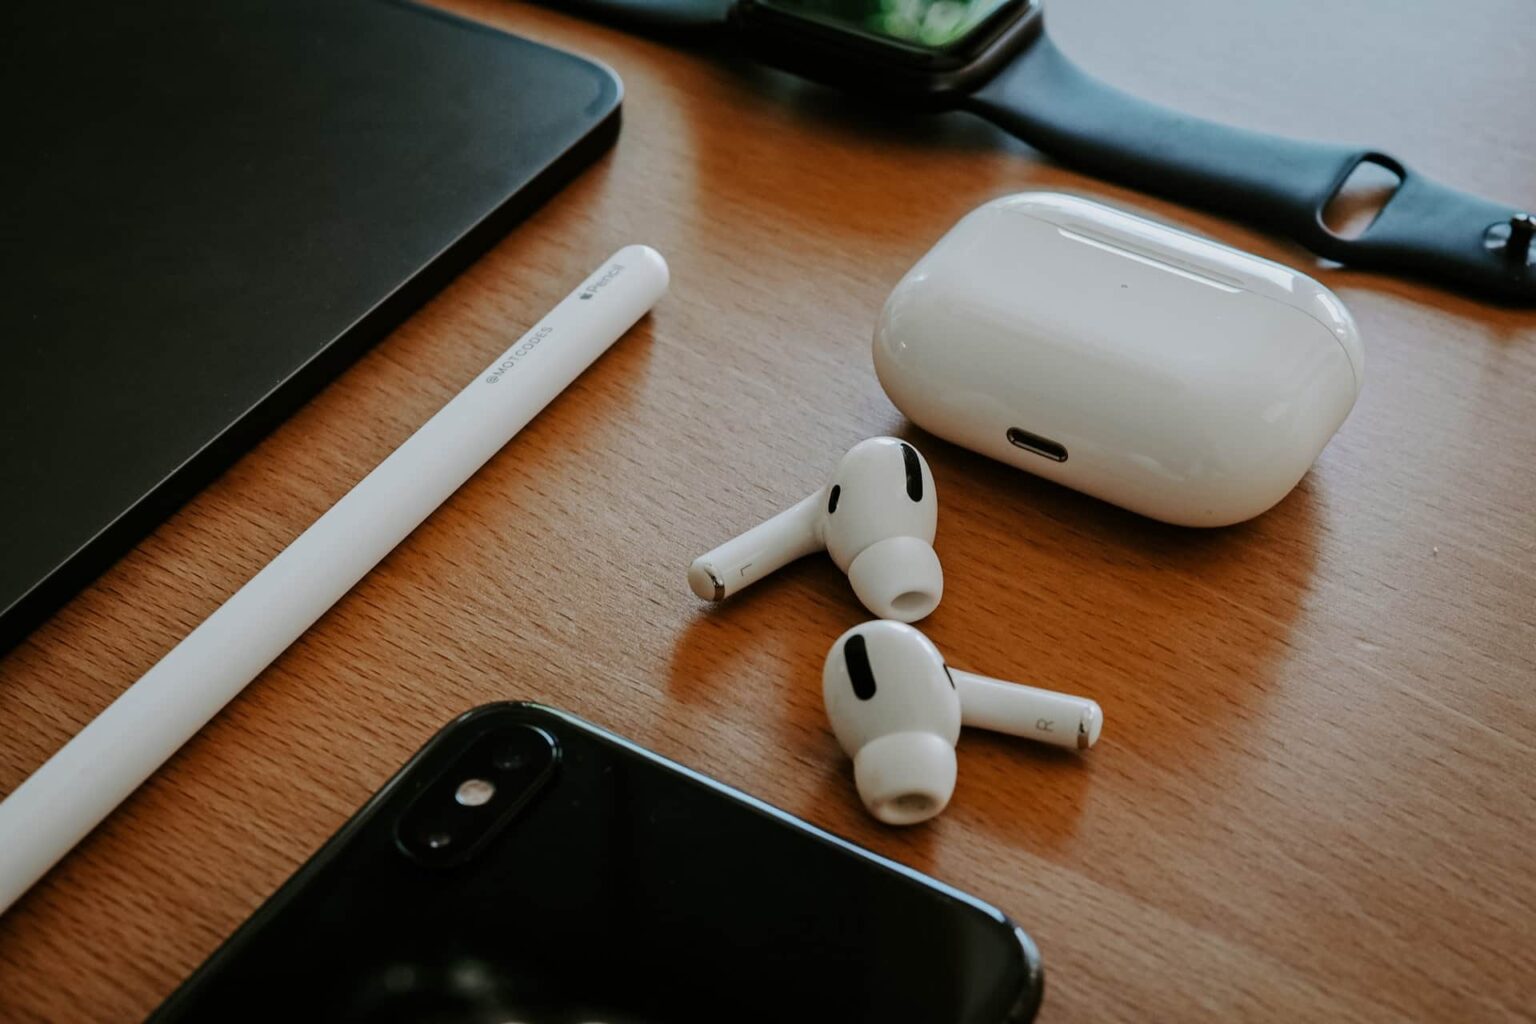
Though in this generation there are barely people who don’t have an idea of using gadgets, there are some like me who are not really tech-savvy. They definitely need the right guide to follow into any procedure from backing up the data to even connecting your Apple AirPods to the computer. This might not seem a tough task but someone who has never connected them before might need this guide.
It is fine to need direction and not be the genius who has every device running on the tips of their fingers. It happens with everyone someday. So if you are someone who requires the perfect insight and step-by-step guide into connecting the AirPods to a computer then you have landed on the right page.
In this article, we have covered all the necessary steps that are essential in the process of the connection. We will inform you how to process one by one. It will change with the type of system you are using. Are you using a PC or Mac? We will begin the guide with Mac here because it has the leverage of being an iOS device. No, actually it is just an impulsive decision and we are randomly starting with a Mac.
Before we start up with the process let me tell you that you first need to check if your system is updated. If it is then congratulations you can skip this part but if this is not follow the following steps. Open your system you will find an apple icon on the screen on the left side of the system. Then tap the option which says About this Mac.
After tapping on it a message will pop up and you must tap on the software update which will do the further process of update. Check if it has the latest software upgrade which is highly helpful. After completing this process you can now continue with the AirPods connection.
- The first step is to go to system preferences. You will find a gear-like icon on the screen. If this doesn’t help then you can also search for it in the spotlight which is a search icon that usually looks like a magnifying glass. You will find this icon on the right side of your screen.
- Then you need to check on the Bluetooth sign. It looks like a regular Bluetooth sign and you can select it now.
- After this, you must open the case of your AirPods and keep the lead open.
- Once you are done with the previous step you will see the connection on your device. It will show in some time. But if you cannot see it then it is right that you check the Bluetooth connectivity. Then you can perform the process again.
Here we are done with the Mac connecting process. It is now time for PC users. In a way, the steps are quite similar to that of connecting to a Mac. But below we have mentioned the exact steps for your comfort.
- First of all, switch on the system. Then you need to navigate to the start menu.
- After this, you need to select devices and then go to Bluetooth and there you will find an option of Add Bluetooth or another device.
- The same as we did while connecting to Mac you need to keep the lid of the AirPods case open and then hold it. Once it’s done you will see a pop-up of it on the system. After the headphones are connected you can press done.
You might not find the Bluetooth feature in some PCs. It happens usually with the desktop system. But in the case of your laptop, it is possibly available. So, this was the brief guide that contained how you can connect your AirPods to the computer.

